Ensuring Carefree Traceability through automated calibrations

Applying innovative calibration techniques by automated data acquisition and calibration in the Minerva laboratory: a step forward, saving time and money for our customers and reducing measurement uncertainty.
Major topics in an ISO/IEC 17025 accredited laboratory are traceability and measurement uncertainty. According to the International Vocabulary of Metrology (VIM) the definition of traceability is:
“property of a measurement result whereby the result can be related to a reference through a documented unbroken chain of calibrations, each contributing to the measurement uncertainty”
At first sight, this seems to be a relatively difficult definition where I think an example will help a lot, let’s take the kilogram.
Measuring the kilogram
The Bureau International des Poids et Mesures (BIPM) is the keeper of the international prototype of the kilogram called the “Grand K”. NMI’s around the world send their version of kilogram to BIPM where they are calibrated against a working copy of the “Grand K”.
Accredited laboratories (like Minerva) have a reference kilogram that has been calibrated against another kilogram, which has again been calibrated against our Dutch prototype of the kilogram (again through a working standard).

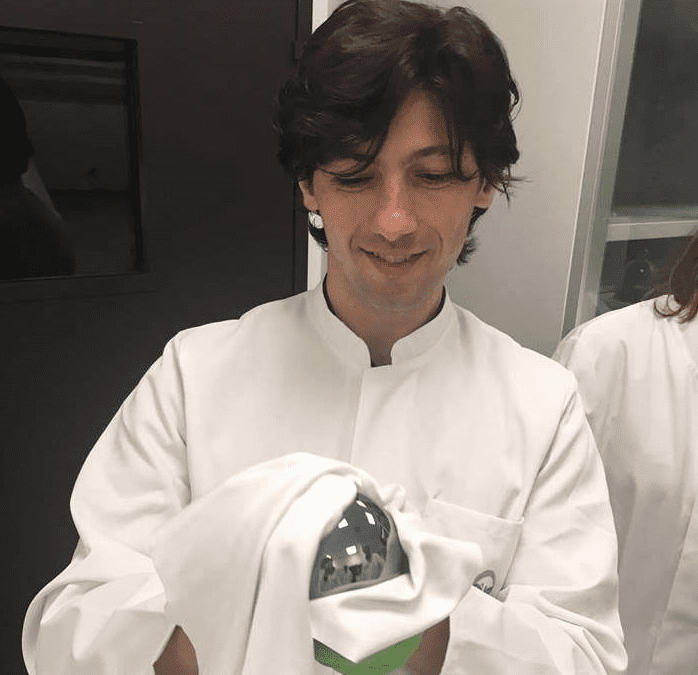
mr. Alexei Pianih of INM holding the new silicon sphere kilogram at PTB
Traditionally calibration has been a highly scientific procedure with a lot of manual labor and potentially human influence. It has been Minerva’s strategy since the founding of our laboratory to minimize the human dependency and improve efficiency through automation.
Automation in calibrations
We have implemented automation in two ways:
1. Automated data acquisition
Automation perfectly fits into our striving to reduce measurement uncertainties. Obtaining more truly objective automatically collected measurements, both from our reference standards and the devices we calibrate, result in uncompromising results and ways to analyze data which are not doable through manual registrations.
2. Automated calibration process itself
In our laboratory we have implemented multiple calibration setups which can operate without human intervention.This safes time and also reduces the risk of operator errors, so improving quality.
For average measurement uncertainties we have multiple pressure controllers / calibrators which automatically set pressures controlled by software procedures.

For the smallest measurement uncertainties we have piston gauges which automatically load the correct mass configuration and automatically float the piston through a connected pressure controller.
MORE INFORMATION?
Please take a free virtual tour through our laboratory! Would you like to know more about ways to automate your calibration process? Feel free to contact me via carel.adolfse@minerva-calibration.com.

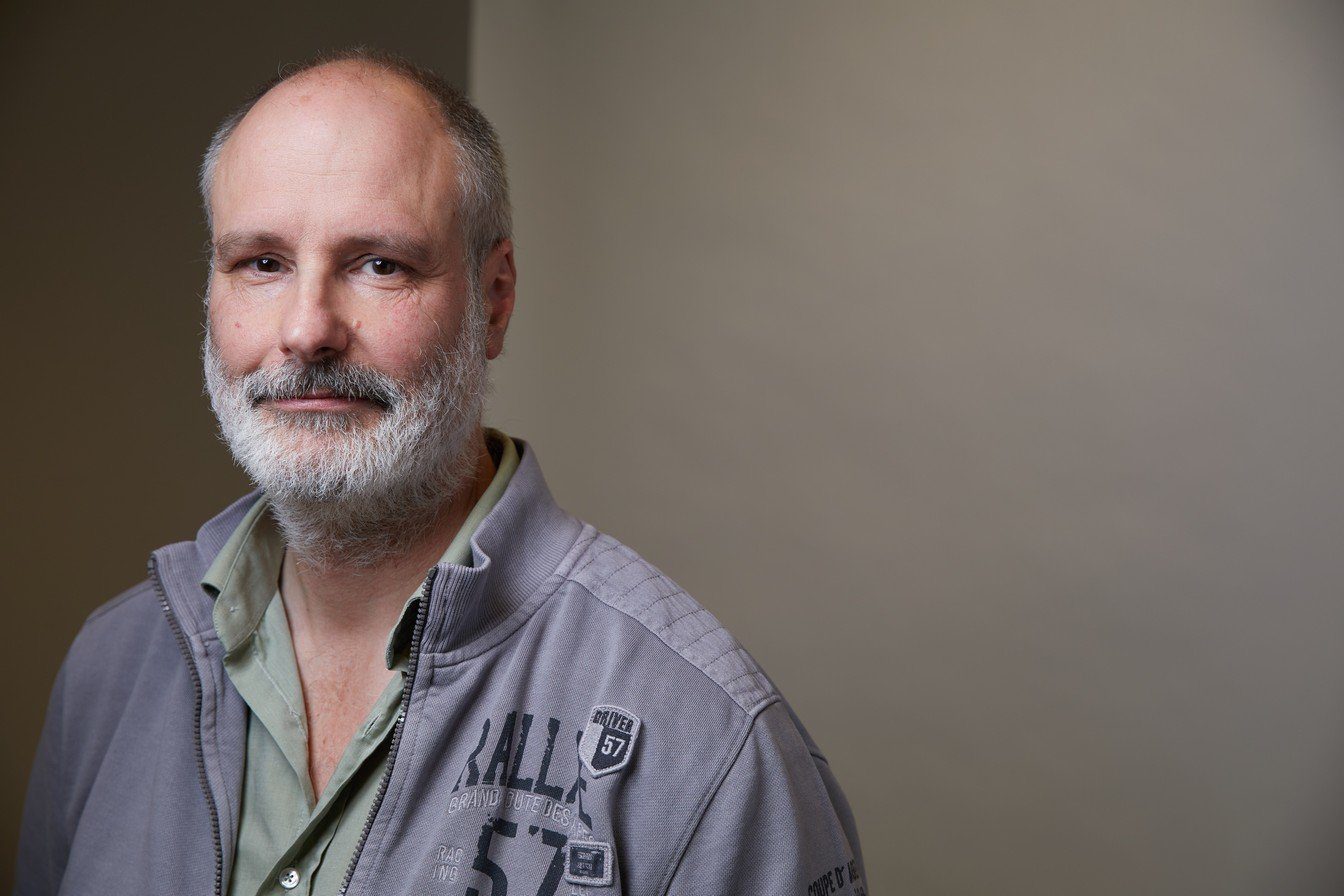
Carel Adolfse
Technical Director
mai 19, 2017


